The Button widget allows you to add customizable buttons to tabs. Buttons are used to control rules. Multiple Button widgets can be added to different tabs and windows. The same button can be placed in multiple Button widgets. Buttons are received from servers to clients.
Adding the widget
- Go to Edit Mode.
- Select Widget > Buttons
A Button widget will appear in the tab which can then be customized by clicking the wrench icon in the lower left corner of the widget.

The opening menu can be used to create more buttons or to open existing buttons in the widget. Resize the widget by dragging the arrow icon in the lower right corner. The buttons are scaled according to widget size.
Customize a button
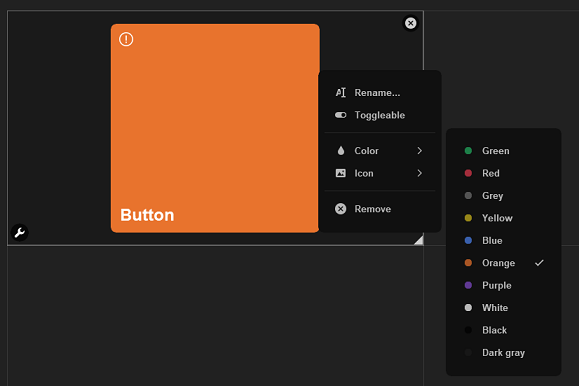
Customize a button by right-clicking it. The opening menu can be used to rename the button, set connections, and change the color and icon. By selecting Toggleable the button stays toggled when clicked and is released when clicked again.
Add a button function
- Go to Menu > Settings > Rules and add a rule.

- Select the added rule.
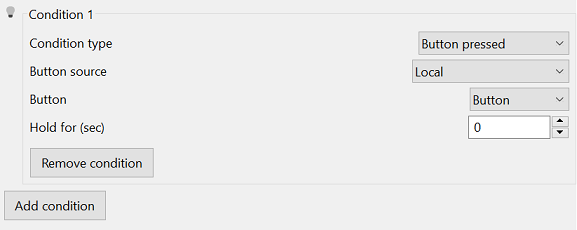
- Click Add condition and select Condition type > Button pressed.
- Select Button source > Local.
- Select Button > (the button you have named, default “Button”).
- Add the desired function by clicking Add action. You can add multiple functions and conditions.
- Test the button function by clicking the button in the widget and monitoring the light bulb in the rule window.
Link a button to a camera
- Go to Menu > Settings > Cameras
- Choose the desired camera.
- From the General tab under Camera, click Link buttons.
- Choose the desired button and click OK.
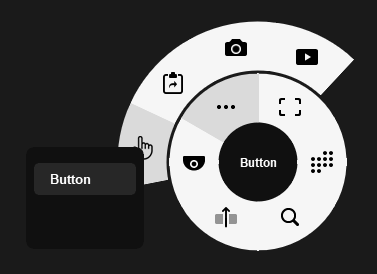
- The button can now be accessed from the camera's radial menu.
Comments
0 comments
Please sign in to leave a comment.