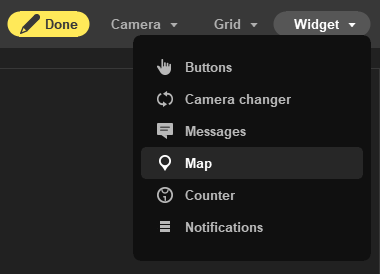
The map widget shows the surveyed area and camera locations in that area. From the map you can open camera images for inspection, move to other maps, and check the status of I/O devices linked to the system. Add the map widget by going into edit mode and choosing Widget > Map. Drag the widget to the screen and size of your choice.
Create map
- Go into edit mode by clicking the pen icon.
- Click the wrench icon on the bottom left corner of the map widget.
- From the menu that opens, choose New Map.
- In the window that opens, fill in the needed fields:
- Name is the name shown in the map menus.
- Choose the image file (.png or .jpg) for the map in the Image field by clicking Browse.
- Group is the name of the group the map is found under in the map menu. Leaving this field empty won't add the map to a group.
- In the field Place under map choose the map under which the now created map will be placed in the breadcrum trail. The menu is empty when creating the first map.
- Click OK.
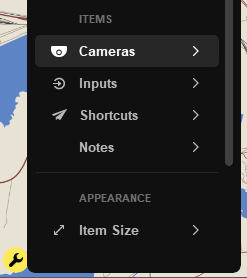
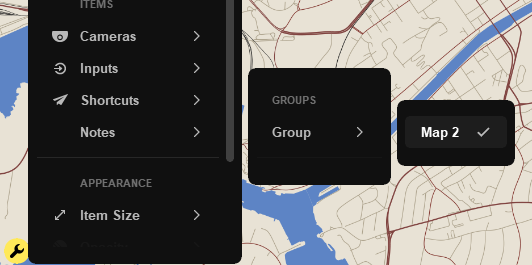
Access the map widget settings by clicking on the wrench icon.

Cameras
Add camera
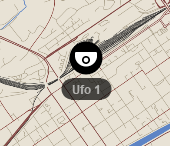
Add a camera by clicking Wrench icon > Cameras > (Desired camera). The camera will appear on the map. Move the camera to the desired spot on the map by clicking and dragging the cursor. When exiting edit mode by clicking the pen icon, the camera markers lock in place.
View camera
Cameras can be viewed by clicking on them outside edit mode. The camera image will open in peek mode. The timeline and radial tools can also be used while in this mode.
Shortcuts
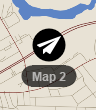
A shortcut is a marker on a map that can be clicked to move to other maps.
Add shortcut
Add a shortcut by clicking Wrench icon > Shortcuts > (Desired map). The shortcuts menu will automatically suggest maps that are placed higher or lower in the breadcrumb trail. When the desired map has been clicked, the shortcut will appear on the map. Move the shortcut to the desired spot on the map by clicking and dragging the cursor. When exiting edit mode by clicking the pen icon, the shortcut markers lock in place.
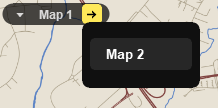
Breadcrumb trail
The breadcrumb trail makes it easier to survey areas consisting of multiple cameras. With it you can easily move to maps relating to the one already open. The breadcrum trail is shown in the upper left corner of the map widget. The breadcrumb trail shows the main dropdown menu, the name of the chosen map, and a forward-pointing arrow to the lower level maps. When clicking the arrow, a menu for the maps under the current one opens. You can move to different maps in the breadcrumb trail by clicking on the name of the desired map.
Edit map
Edit a map by clicking Wrench icon > Edit Map. The opening window shows the same settings that were chosen when the map was created.
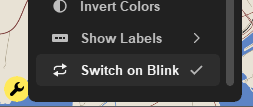
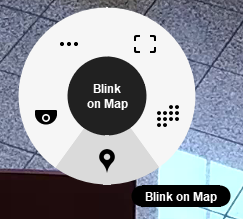
Blink on map
Switch on Blink can be found from the map widget settings while in edit mode. When this setting is chosen and the edit mode is not enabled, the map on the widget will switch to the right one when clicking on the Blink on Map tool in the radial menu. The radial menu appears when clicking on the camera images outside of the map widget.
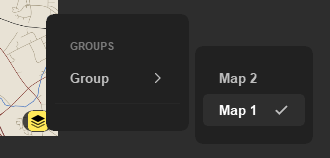
Map menu
When edit mode is disabled, an icon for the map menu is visible in the bottom right corner of the map widget. Change maps by clicking on the icon and choosing the desired map. The group designated to the map will move the map to the dropdown menu of the group's name in the map menu.
Comments
0 comments
Please sign in to leave a comment.